Wednesday, June 19, 2013

How to Age Galvanized Metal

 
Last week I shared with you a fun painting technique to make freshly painted items look old.  Go HERE to see it again.  I promised to share how I also turned the new galvanized metal tub into one that looks old, too.


I started with this shiny new tub I found at Tractor Supply.  It was the perfect size to fit on the springs of the old chair I was using as a planter.  But the one problem with the tub was that it was just too shiny and perfect for my aged chair.

 
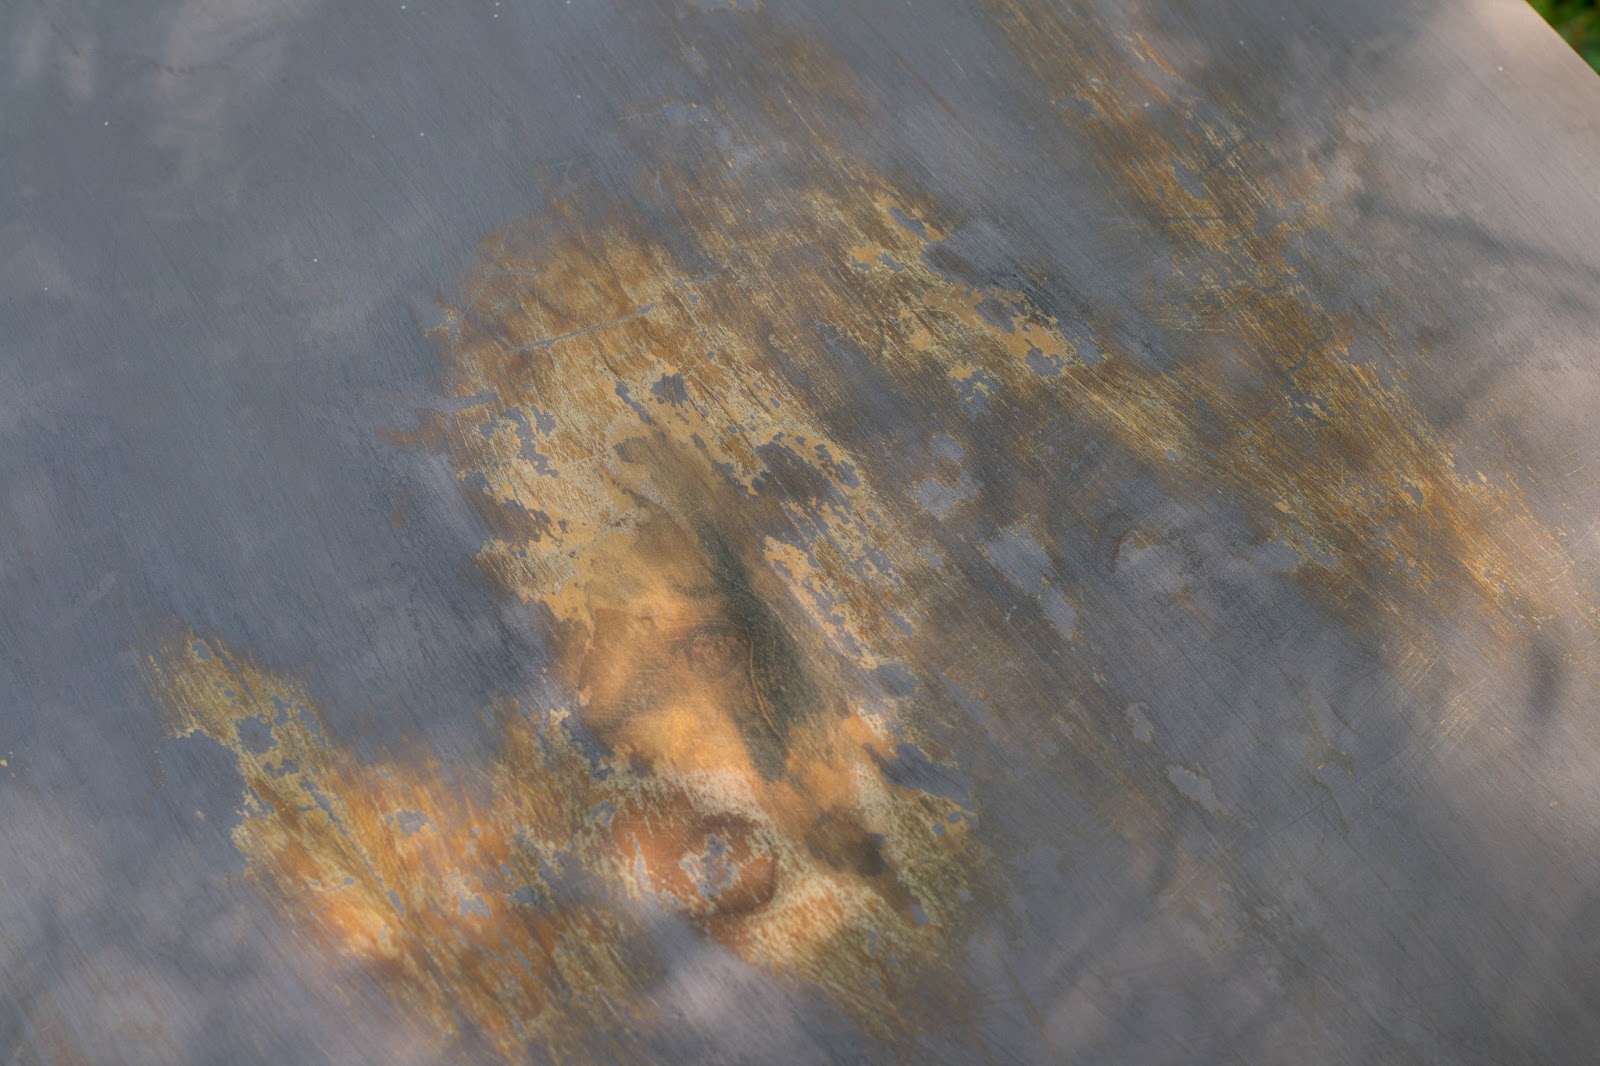
After doing some searching online for a solution, I made a trip to my local Lowe's but they didn't have the product I was looking for.  After reading a lot of labels and remembering some of the things I'd read about aging new metals, I purchased a bottle of Professional Strength Lysol Toilet Bowl Cleaner.  It says right on the front of the bottle "Danger - corrosive".  Just what I was looking for!  The ingredients showed the active ingredient is hydrochloric acid, which I thought would dull the shininess to give the look I wanted.  

 
Since I chose to start on this project at night, I placed the tub in my driveway and covered it well with the Lysol.  Be careful!  Gloves are probably a good idea (don't ask me if I used them!).
 
 
 I went back inside for about 20 minutes and tried to wait patiently.  I was excited to see if it was going to work! I don't know if my next step was really necessary but I wanted to make sure the process was working.  It looked like it already was, but for good measure I took my heat gun and applied heat all around the tub. 
 
 
If I had done this on a bright, sunny day I may have tried just placing it in the hot sunshine instead of using the heat gun.  I ended up leaving the tub sitting in my driveway all night with the Lysol on it. The next morning, I did place the tub  in the sunshine for a little while before I washed all of the Lysol off with a water hose and let it dry.  And this is how it turned out:

 
I didn't apply the Lysol to the inside of the tub because I wasn't sure if it would leave a residue behind that would kill the flowers I was going to plant in it.  It worked out fine because the potting soil filled up most of the interior any way. 
 
 And with just one bottle of Lysol toilet bowl clean and a little time, the "aging" process was complete!


Thursday, June 13, 2013

Looking Old

 
Did you think I'd forgotten about you?  No way!  I've just been super busy with projects and getting out and about to find great "new" pieces of furniture. 
 
AND I've been busy stocking my space at Old South Antique Mall in preparation for this weekend's big sale.  Each vendor was asked to place a live plant, flowers or a flowering plant in their booth.  Almost immediately, I thought about a great old wooden chair I had in my garage that I could use to make a porch planter.  In its prime it was upholstered, but that was long ago and now the only things left other than the frame were wonderful old, rusty springs.  I had a vision for how I wanted this project to turn out and it came pretty close to what I had in mind.


Actually, it turned out better than I had planned.  If I had known it was going to turn out so well, I would have taken a before picture.  Try to picture the chair with no paint or varnish - only dry looking old wood.  I knew I wanted to paint the chair frame but I didn't want it to look like new paint.  So I lightly brushed on CeCe Caldwell's Simply White, dry brushing in some areas and using more paint in others.  After the first coat, I spotted the bleed through I told you about here.  But instead of trying to block and hide it, I decided to let it show to add to the aged look. 
 
I also knew I wanted some crackly texture.  But I didn't want the usual all over crackle. I also wanted a more natural looking texture so I came up with this modified technique:
 
1)  After the first layer of paint had dried, I chose the areas I wanted to look aged, crackly and crusty and applied regular school glue to a small chip brush then applied the glue to the chair frame, working on one small area at a time. Some areas had a thick layer of glue applied and some areas had less.
 
2)  IMMEDIATELY after applying the glue, I painted over it with another coat of Simply White.
 
3) IMMEDIATELY  after applying the second coat over the glue areas I used my heat gun to dry the paint and glue.  To get the really textured bubbled look I placed the heat gun fairly close to the wet surface.  Be careful!  The gun is very hot.  This isn't like using a household hair dryer for the crackle look.
 
4) I repeated this process on each area I wanted to age and varied the amount of glue, amount of paint and closeness of the heat gun on each area.
 
And this is how it turned out.  See the beautiful old-looking crusty legs?
 
I love the combination of the drybrushing allowing the original wood to show through, the bleed-through and the crackly appearance from applying the glue.

 
I very lightly wet distressed along the edges of the chair frame where natural wear would occur.


Since the chair will be outside or on a porch, I lightly sprayed the chair frame with clear spray varnish.  This increased the aged look some as it made the bleed through areas look even more discolored and aged.
 
 
For the final touch, I filled a metal tub with Sunpatiens (impatiens grown to thrive in the sunshine). I also planted English Ivy in the back of the tub so it can grow up the chair frame as it grows.
 
 
 I'll share my secret for turning a new, shiny metal tub into one that looks old in my next post.  In the meantime, this porch planter chair will be for sale in my booth at Old South Antique Mall.
 
Linked to:
 
:

 
The Shabby Nest

Monday, May 27, 2013

Using Glaze to Tone Down Bright Colors

I've said before how I usually wait awhile for a piece of furniture to "speak to me" about how I should paint it.  And this one was no different.  What was different is that this little nightstand told me right away what to do!
 
The nightstand was white and plain except for the bamboo look legs and a bamboo look trim above the top of the top drawer and below the bottom drawer.  And the hardware, which wasn't looking too good,  was also made to look like bamboo.

 
The bamboo was telling me tropical but I didn't want to paint it palm tree colors of brown and green.  But I did want to make it beachy looking (that's what it had told me it wanted to be!). Soooo, I painted on a couple of coats of CeCe Caldwell's Paint in Seattle Mist.  I love this color! 

 
But the twist to make it look beachy was to paint the drawers Maine Harbor Blue.

 
The blue was a little too bright for the look I had in mind so I coated the drawer fronts with CeCe Caldwell's Satin Finish.  When that had dried, I brushed on a coat of a glaze made from CeCe Caldwell's Clear Glaze with a little Seattle Mist paint added to it (sorry I didn't take a pic).  That toned the blue down to just the right shade. After the Glaze had dried, I applied another coat of Satin Finish.  I also painted the hardware with CeCe Caldwell's Simply White and when it had dried, I applied Clear wax then buffed when dry. 
 
 
After applying CeCe Caldwell's Clear Wax to the nightstand and over the dry Satin Finish on the drawer fronts, I buffed when dry.   The nightstand was then ready for my booth at Old South Antique Mall.  After I added a few nautical accessories, it sold to a lady looking for a nightstand for her lighthouse themed guest room.

 
Another cute little transformation complete and off to its new home.

Friday, May 17, 2013

My Battle with Veneer

 
I recently told you here what to do when you face the problem of bleed-through when painting your furniture.  This week, we're going to tackle another problem.  I frequently come across some great old furniture pieces with good character and bones but the veneer is often broken, loose, buckling, etc.  Like this beautiful little vintage table I found.  It has great legs and carved details and everything about it was in absolutely perfect shape - except the veneer on the top. 


I first hoped I could just glue the veneer back down where it was lifting up.  But it was put on in a pattern and those small pieces were already trying to buckle up.  I knew if I painted over it the veneer would eventually finishing buckling and the pieces would come loose. 

 
So, I decided the veneer had to be removed.  That's when the new trouble began! The veneer on one end of the table was so dry and brittle that it pulled right off.  As usual, there were two veneer layers - the thin top layer and a thicker layer on top of the solid wood table top.   The veneer on the other half was stubborn!  I almost forgot to take a photo of it, but here it is when I was almost finished.  Not a pretty sight!  If you look closely you can see the two veneer layers.


The veneer on the second half of the table was really hard to remove.  I'll admit that I had to just leave it alone for awhile while I figured out what to do (and get up enough nerve to tackle it)! I first tried out my new heat gun.  I was careful to get close enough to hopefully loosen the glue but not so close to damage or burn the wood.  Fail! This may work on some pieces but not too well on this one.
 
 I had read that the glue on older veneers is water based so I tried a couple of other methods. First, I got out the iron I had bought at a thrift store just for removing veneer.  Note:  DO NOT use your household iron.  It will be ruined immediately by the glue.  I wet an old washcloth and placed it on the veneer then pressed the hot iron down on it for a few seconds.  Some people use a metal paint scraper, but I had luck with a flexible, thin blade filet knife.  BE CAREFUL!  The veneer came off in mostly small pieces but at least it was coming off smoothly when it did.  This method worked for awhile until I hit some real stubborn areas.  The two layers of veneer would not budge!  So, I then sanded with my palm sander to open up the finish some to allow the moisture to penetrate through the veneer down to the glue.  Next, I took a spray bottle of water and wet the veneer down well.  After waiting a few seconds, I placed the washcloth on top and again applied heat with the iron before using the knife to remove the veneer. 
 
 
Again, the pieces of veneer didn't come off in large pieces but with time and a little patience, I managed to get all of the veneer off.  Lots of areas were left with small amounts of glue so I used my electric palm sander to remove them and get the surface as smooth as possible.  See those dark areas in the wood?  Especially since I knew I was going to paint the table white, they concerned me.  And so did any remnants of glue residue I may have missed.


So what did I do?  Just like I did with the table with stain bleed-through, I sprayed the surface with my trusty Zinsser Bulls Eye Spray Shellac to seal it all in.  When that dried, I applied a coat of CeCe Caldwell's Paint in Virginia Chestnut.  Since I was going to distress the table, I wanted the surface to be fairly close to the original finish.

 
After the Virginia Chestnut had dried, I applied another coat of spray shellac.  Why?  When I distressed the white paint, I didn't want the distressing to go all the way down to the original lighter colored wood.  By spraying the shellac over  the Virginia Chestnut, the distressing left the Virginia Chestnut as the original wood color and did not remove it.

 
I then painted on two coats of CeCe Caldwell's Vintage White, allowing to dry between coats.  After the second coat had dried, I distressed with a damp washcloth. On surfaces that are likely to receive a lot of wear and tear and maybe even drinks, etc. being placed on them, I like to use CeCe Caldwell's Satin Finish. I applied a coat of Satin Finish diluted with water, allowed it to dry before lightly sanding with fine grit sandpaper and repeated with another coat of diluted Satin Finish before again lightly sanding.  Next I used the brown paper bag method.  Believe it or not, you can take a regular brown paper bag (I used a lunch bag) and "sand" the surface.  You will not believe how smooth the surface becomes!  I like a waxed finish so I applied a coat of clear wax over the Satin Finish on the tabletop and after it had dried finished by buffing it to a sheen. 


And another beautiful old, vintage table is saved from the discard pile with a little determination and patience and some basic household items! Do I like removing veneer?  Of course not!  Will I do it again?  Absolutely!  Because there are so many old, beautiful pieces out there with damaged veneer.  Just look past the damage to what it can become.

Monday, May 6, 2013

Dealing With a Troublemaker

Painting with CeCe Caldwell's Natural Chalk & Clay Paint is so very easy.  No stripping, no sanding (unless the finish is peeling, chipping, etc.) and the furniture needs only a good cleaning with a degreaser.  But even with this wonderful paint, sometimes things don't always go exactly as planned.  I found this vintage coffee table that I love for its simple yet classy lines and legs and cleaned it with a degreaser like I do every other piece I paint.  It had some dark spots on one end where it looked like something had been spilled, so I sanded over those to remove any remaining residue,


Since I already had the sandpaper in my hand, I lightly sanded over the entire tabletop for good measure.  I decided on Virginia Chestnut for my base coat and that night I painted on a coat. 
 
 
A painting tip:  Always turn tables and chairs upside down when possible.  If you don't, you will think you have everything covered but you won't.  Trust me on this! When you get the legs and underside of the tabletop painted, just flip it over and paint the top and any spots you may have missed when it was turned upside down.

 
I had several projects going at the same time so I forgot to get a photo of the table right after being painted with the basecoat of Virginia Chestnut.  But everything was good so far.  On my way out of the garage the next morning I noticed the tabletop still looked wet in some spots which was strange because the paint dries so quickly.  It had been raining the night before and I was in a hurry so I really didn't think too much about it other than I was going to put on the topcoat when I got back home. 

When I got ready to paint the topcoat, I was tempted to go ahead and paint on the topcoat of Seattle Mist but there were still splotchy areas and I knew it wasn't wet paint.  If you look closely you can see a few of the wet looking spots. I was so distressed that I forgot to take a pic of the entire table. 
 
 
 But I did do what I knew I was supposed to do! It's what should always be done when you first see splotches coming through the basecoat.  I started by sanding off the paint - but only in the areas where the bleed through was happening.  Real quick and easy to do.  The paint that came off in those areas was gummy but was so easy to sand off.  And this is the very ugly mess I was left with. 


It was time to bring out the magic "secret weapon". 
 
 
Zinsser Bulls Eye spray shellac is a lifesaver.  I lightly sprayed over the entire top and waited for it to dry.  It dries so quickly!  The shellac seals in all the ugly unknown things trying to bleed through your paint.
 
 
 I recoated the top with another coat of Virginia Chestnut before applying a topcoat of Seattle Mist.  After the Seattle Mist was dry, I wet distressed with an old wash cloth.


I then finished the legs and area under the tabletop with CeCe Caldwell's Clear Wax.  When it was dry, I buffed it to a beautiful shine.  Since tabletops get more rough treatment, using a sponge applicator brush, I applied a coat of CeCe Caldwell's Satin Finish diluted 50/50 with water.  When that had dried, I lightly sanded with 500 grit sandpaper and applied another coat of diluted Satin Finish.  When the second coat had dried I again lightly sanded with 500 grit sandpaper to remove brush strokes and give a really smooth surface.  I finished by applying a coat of Clear Wax over the Satin Finish, letting it dry and then buffing.  (You can apply Clear Wax over Satin Finish but not vice versa).
 
And here she is!  My little troublemaker table turned into a real beauty.


And the moral of this story is:  You never know what a table may have gone through before you paint it.  At the very first sign of a stain bleed through - STOP!  Don't think you can paint over it and it will be covered.  No matter how many coats you apply, the stain will bleed through.  Go head and deal with it at the first sign of a problem by blocking the stain with spray shellac.  If you paint enough furniture, you'll eventually be faced with this problem one day.  And now you know how to handle it!

Tuesday, April 30, 2013

Painting Metal Lamps with CeCe Caldwell Paints

Some of my favorite things to revive and restore with paint  are lamps.  So I was excited when I found this large, very heavy metal lamp base at an area thrift store.


It sat around in my garage for awhile as I waited for it to "speak to me" about how it should be painted.  Finally, I heard it loud and clear and painted on a base coat of CeCe Caldwell's Paint in Myrtle Beach Sand.  No prep, no sanding and no primer.  Yes, you can paint metal with CeCe Caldwell's Paints without using a metal primer!  Just start painting on the bare metal.  How easy is that?
 
 
 It looked so good that I considered just leaving it Myrtle Beach Sand.  But I proceeded with my plan. When the basecoat dried, I followed with a coat of CeCe Caldwell's Paint in Montana Blue Sky.  I'm not normally a blue paint lover but the lamp had "spoken" to me.  It turned out I really love this beautiful color!


When the Blue Montana Sky had dried completely, I wet distressed with a damp cloth to expose the Myrtle Beach Sand and the original brown metal.  Wet distressing is really easy on metal as the paint comes off very easily.  It's easy to overdo it, so don't distress as much as you feel like you should.  Using a small wax brush to get into all the little spaces, I applied a coat of CeCe Caldwell's Clear Wax to seal the paint and wiped off the excess.  See how the wax turns the paint darker so you can make sure you haven't missed a spot?   
 
 
This lamp didn't need Dark Aging Cream added because the metal was already dark and was showing through after distressing. After waiting a few hours to make sure the Clear Wax was completely dry (you can tell it's dry when it no longer feels tacky), I took a soft cloth and buffed to a soft shine.  


I found a beautiful, brand new pleated fabric shade a few months earlier at another thrift store.  When I find a bargain on something this beautiful I always buy it knowing I'll have a use for it one day.  And I'm so glad I did!
 
 
I absolutely love how this lamp turned out and am already on the hunt for another one to update with CeCe Caldwell's Paints.
 
 Linked to:

My Uncommon Slice of Suburbia


Beyond The Picket Fence